
This how-to guide applies to D-type MistCannons only.
Here is a quick guide on how to assemble the wheels on a D-Type MistCannon if they have been delivered to site separately.
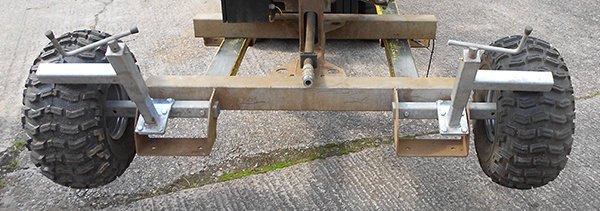
Firstly you will need to raise the MistCannon off the ground using a forklift so that there is enough space to attach the wheels.
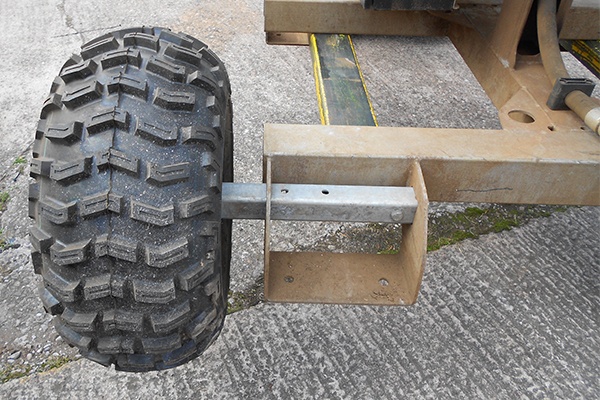
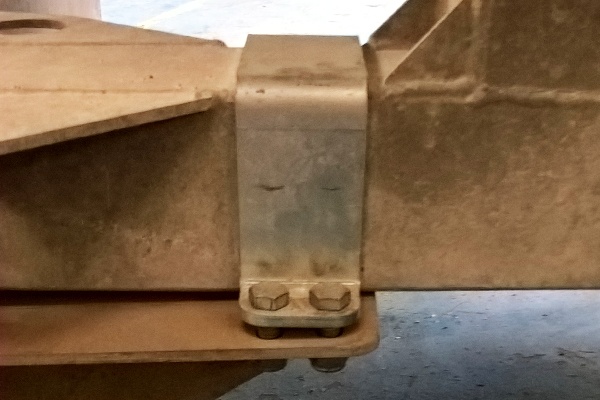
Insert the small box section into the chassis of the MistCannon
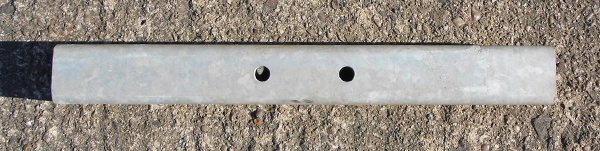
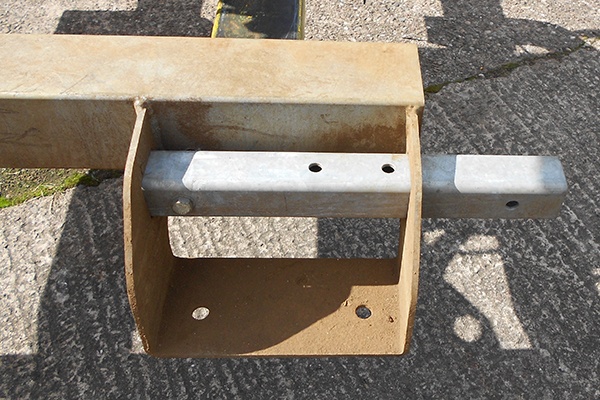
Insert a bolt through the box section and the chassis
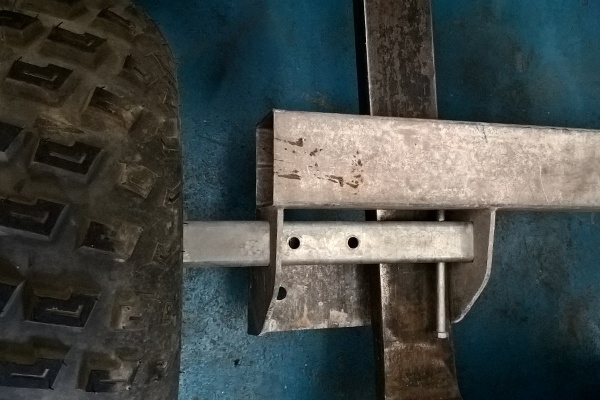
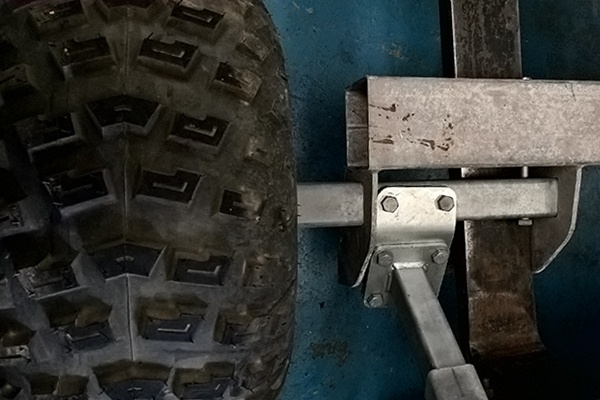
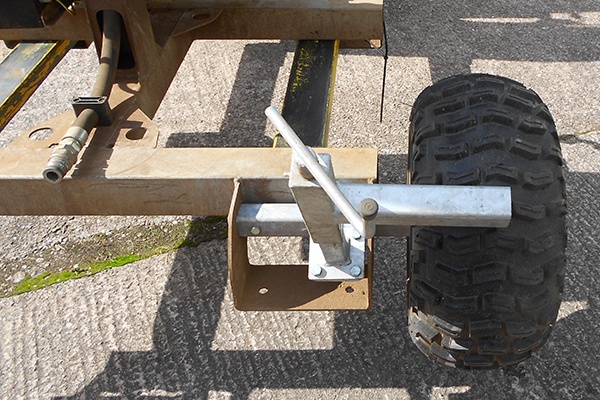
Insert the wheels into the box section ensuring that the bolt holes align
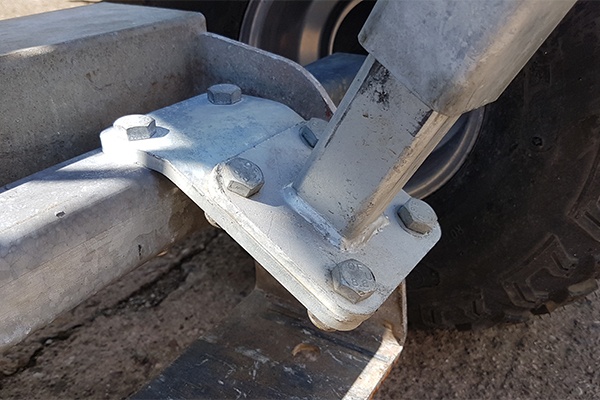
Bolt the angled plates to the bottom of the brakes ensuring they are facing the correct way
Bolt the brake and angle plate onto the box section ensuring that the bolts are securing the wheel in position at the same time
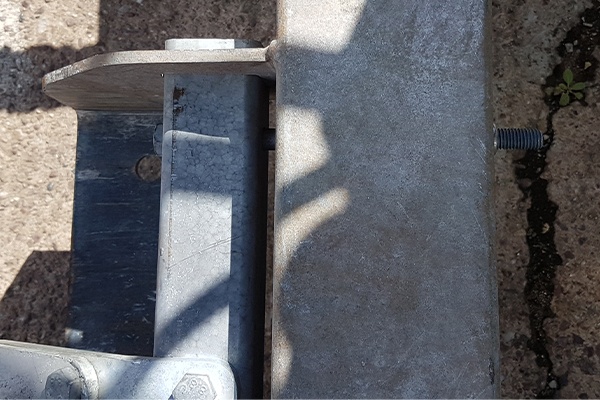
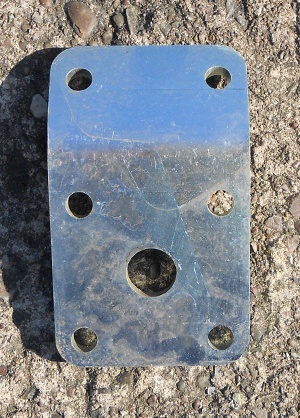
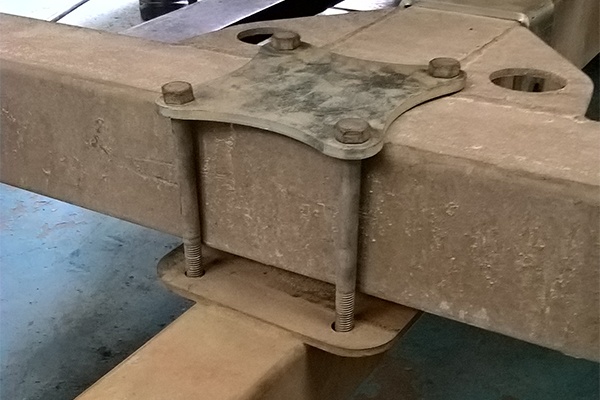
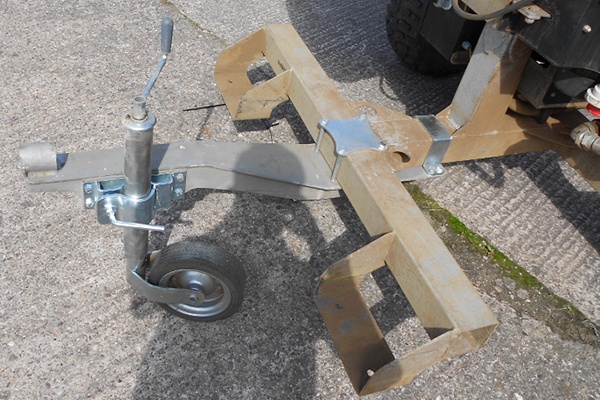
Put the tow hitch in place and bolt into place with the square plate and angled brace
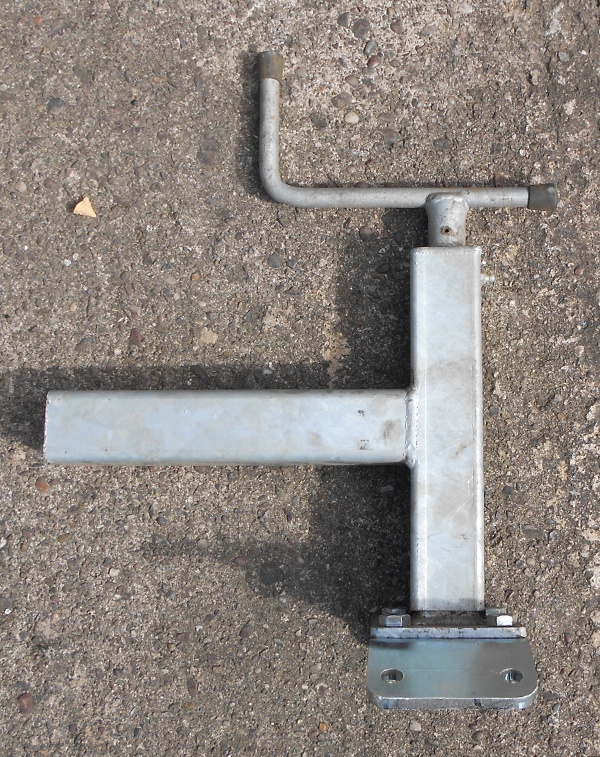
Bolt the jockey wheel onto the side of tow hitch
If you have any queries or issues, please don't hesitate to contact us.

